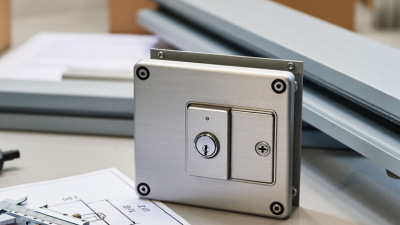
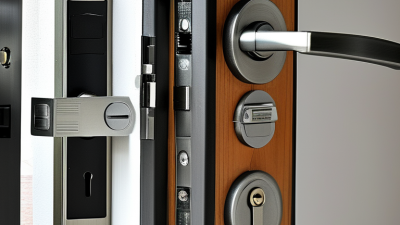
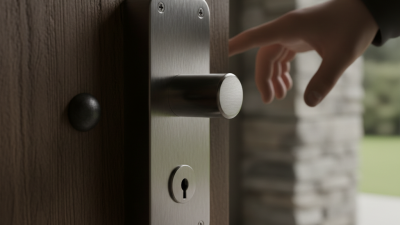
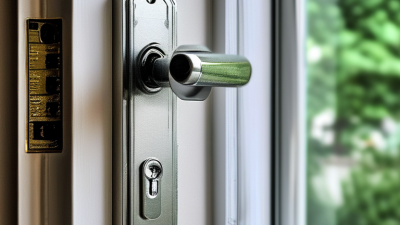
Choosing the right Casement Door Lock Box requires more than comparing prices or polished product photos. The box must match the door’s frame, locking mechanism, opening direction, and daily usage. A compact aluminium box may suit a sheltered side entrance, while a reinforced steel model offers better resistance for exposed or frequently used doors. Measure the frame carefully. Measure twice. Small errors matter.
A reliable selection process also considers corrosion protection, screw placement, key access, and alignment with the existing latch. In coastal areas, stainless steel or treated finishes can reduce surface deterioration. For busy homes, smooth operation matters as much as visible strength. The lock box should close firmly without forcing the handle or scraping the frame. That detail is easy to miss.
Manufacturer specifications deserve close attention, especially dimensions, material grade, compatibility notes, and installation guidance. Independent reviews can add practical insight, but they should not replace accurate measurements or professional advice. A qualified installer can identify weak fixing points and prevent damage to the door structure. Still, even expert recommendations need checking against your exact door. No product is perfect.
This guide explains how to compare security, durability, fit, appearance, and maintenance needs. It also examines common buying mistakes, including choosing a box that is too shallow or ignoring weather exposure. The best choice is not always the strongest-looking option. It is the one that works consistently, fits correctly, and remains dependable over time.
How to Choose the Right Casement Door Lock Box?
What Is a Casement Door Lock Box and Why Does It Matter?
A casement door lock box is the metal housing that holds a door’s locking mechanism. It sits inside the door edge, connecting the handle, spindle, latch, and locking points. When you turn the handle, the box transfers that movement to the latch or bolts. It is small, but its role is important.
A suitable lock box improves daily operation, alignment, and resistance to forced movement. It also helps prevent rattling when wind presses against the door. In practical installation work, accurate measurements matter more than appearance. Check the backset, faceplate length, lock depth, spindle position, and number of locking points. The door material and opening direction matter too. A box made for timber may not suit a metal or composite door.
Tips: Measure the old box before removal. Photograph its position. Compare every dimension, not only the overall length. Check whether the handle turns smoothly after installation. If the latch feels tight, the door may need alignment rather than a stronger lock box. A qualified installer can identify this difference quickly.
Do not choose solely by price. Poor compatibility can cause stiff handles, loose doors, or repeated repairs. Certified testing can offer useful guidance, but installation quality still affects performance. I have found that even a well-made lock box can fail to work properly when the keeps are misplaced. That is an easy detail to overlook. Recheck the screw positions and test the door several times before regular use.
How to Choose the Right Casement Door Lock Box?
Before choosing a lock box, measure the door carefully. Start with the door thickness, not the frame. Common residential doors measure about 35–45 mm thick, but older doors can vary. Measure at the edge and near the hinges. Warped timber may give different readings. That detail matters.
Next, measure the backset from the door edge to the center of the spindle or cylinder. Record the result in millimeters and inches. Common backsets include 60 mm and 70 mm. The Door and Hardware Institute recommends recording opening dimensions in several positions because frames can shift over time. Measure the lock-case height and width too. Leave enough clearance for the box, spindle, screws, and door swing. A tight fit can cause rubbing.
Check the hinge side and frame depth. The 2024 International Residential Code requires many dwelling doors to provide at least 32 inches of clear passage, so a bulky lock box should not reduce usable opening space. ANSI/BHMA lock hardware standards also distinguish latch, mortise, and cylinder configurations. Match the box to the existing mechanism. I once measured only the faceplate and missed the case depth. It looked correct, but the replacement sat unevenly. Measure twice. Small errors become expensive.
Choosing the right casement door lock box starts with its material. Stainless steel resists moisture, scratches, and corrosion near coastal windows. Zinc alloy can offer a neat finish, but its strength varies between products. Reinforced polymer is lightweight and rustproof, although it may not withstand force as well. Check the box thickness, internal support, and fixing points. A heavy box is not automatically safer. Poorly anchored hardware can still move under pressure.
Compare security features that protect the cylinder and fastening screws. Anti-drill plates can slow drilling attempts, while hardened pins may resist direct manipulation. Concealed screws reduce easy tampering from outside. Look for a close fit around the lock body, with no wide gaps beside the casement frame. Compatibility matters too. Measure the lock, frame depth, handle clearance, and opening direction before ordering. Small measurement errors cause frustrating installation problems. I have found that users often focus on the metal surface and overlook the mounting structure.
Tips: Test the box with the window closed. Check whether the key turns smoothly and the handle remains accessible. Inspect drainage paths, especially in wet rooms. Ask for corrosion testing and clear installation instructions. Do not assume a security rating applies to the complete door assembly. The box, lock, screws, frame, and installation quality work together. Recheck the fixings after several weeks. They can loosen slightly as the door settles.
Material strength is only one part of lock box security. Stainless steel provides strong corrosion resistance, galvanized steel offers a zinc-coated barrier against rust, and aluminum provides lower weight with moderate strength. The values shown are representative minimum yield strengths for common material grades and can vary with thickness, temper, and manufacturing standard.
When comparing a casement door lock box, also check the box wall thickness, reinforced mounting points, anti-drill or hardened-steel protection, concealed hinges, tamper-resistant fasteners, cylinder or keyway security, and the applicable ingress-protection rating under IEC 60529. A stronger material does not compensate for weak seams, exposed screws, or poor installation.
Choosing a casement door lock box starts with the door, not the lock. Measure the stile width, door thickness, backset, and faceplate space. A narrow timber stile may not accept a deep box. Check the hinge side and opening direction, too. The box must sit squarely without touching the glass, seals, or internal reinforcement. I have found that a few millimeters can decide whether the handle feels solid or strained. Use the existing cutout when possible. It reduces unnecessary damage.
Match the lock box to the door’s hardware style. A traditional timber door often suits a visible metal faceplate and separate handle furniture. A slim contemporary door may need a compact box with a flush faceplate. Finish matters, but alignment matters more. Compare the faceplate width, screw-hole spacing, spindle position, and cylinder height. If these points do not line up, the door can look patched and operate poorly. Check compatibility with multipoint components, strike plates, and latch projection. Do not assume similar-looking hardware shares the same measurements.
Material and environment also influence the choice. Exterior doors need corrosion-resistant components and seals that remain flexible in changing weather. In humid areas, test the key action after fitting, not only before it. A lock box can be compatible yet feel wrong because the seal compresses unevenly. That detail is easy to miss. Recheck clearances with the door closed and locked. I would rather measure twice than force a box into a tight stile. My earlier preference for the smallest box was not always correct; extra space can improve serviceability, but too much space weakens the fit.
| Selection Dimension | What to Check on the Door | Recommended Lock Box Characteristics | Suitable Design or Hardware | Common Compatibility Risk |
|---|---|---|---|---|
| Door Material | Identify whether the door is made from timber, aluminum, steel, uPVC, or a composite material. | Choose a box with fixing points, screw type, and body depth suitable for the door construction. | Mortise boxes are commonly used in timber and metal doors; profile-specific boxes are often required for uPVC systems. | The lock box may not sit securely, or screws may damage a thin door section. |
| Backset | Measure from the door edge to the center of the spindle or cylinder opening. | Select the same backset dimension as the existing handle, cylinder, and strike alignment. | Typical residential mortise applications commonly use backsets around 35 mm to 60 mm, but the existing door should always be measured. | A mismatched backset can prevent the handle from operating or leave the latch misaligned. |
| Case Depth and Door Stile Width | Measure the available installation depth and the narrowest width of the door stile. | Use a compact lock case that leaves sufficient material around the mortise and does not interfere with glazing or reinforcement. | Narrow-stile casement doors generally require slim lock boxes with carefully positioned fixing holes. | The case can weaken the stile, collide with internal reinforcement, or prevent the door from closing. |
| Latch and Deadbolt Layout | Check the distance between the latch, deadbolt, spindle follower, and cylinder opening. | Match the vertical and horizontal positions of all operating components with the existing cut-outs. | Use a latch-only box for interior or low-security applications; use a combined latch-and-deadbolt box where keyed locking is required. | Existing holes may not align, resulting in difficult operation or visible unused openings. |
| Handing and Door Swing | Determine whether the door is left- or right-handed and whether it opens inward or outward. | Choose a reversible latch where possible, or select the correct handed lock case before installation. | Reversible latch designs simplify replacement and reduce ordering errors. | The latch bevel may face the wrong direction, preventing smooth closing. |
| Spindle Size and Handle Type | Measure the spindle square and confirm whether the door uses lever handles, pull handles, or a multipoint handle set. | Select a follower and handle fixing pattern compatible with the existing furniture. | A standard square spindle is common for lever handles, while multipoint systems may require a dedicated central case. | The handle may feel loose, fail to retract the latch, or require excessive force. |
| Cylinder Profile and Length | Identify the cylinder profile and measure the required cylinder length from the center fixing screw to each side. | Use a lock box designed for the selected cylinder profile and keep the cylinder approximately flush with the door furniture. | Profile-cylinder lock cases suit doors using removable keyed cylinders; other cases may accept different cylinder formats. | An incorrect profile or excessive projection can prevent fitting and may increase tampering risk. |
| Faceplate Size and Finish | Measure the faceplate height, width, screw-hole spacing, and corner shape. | Match the replacement faceplate to the existing routed recess and select a finish coordinated with the hinges and handles. | Common finishes include stainless steel, satin finishes, polished finishes, and coated metal options. | A different faceplate may require additional routing and create an uneven visual appearance. |
| Strike Plate and Frame Alignment | Inspect the frame material, strike dimensions, and position of the latch and deadbolt openings. | Use a compatible strike plate and confirm that the lock box throws enter the frame without rubbing. | Reinforced strikes are appropriate for exterior doors when the frame construction supports them. | Poor alignment can cause sticking, incomplete locking, and premature wear. |
| Security Requirement | Consider whether the door protects an interior room, residential entrance, commercial area, or emergency exit. | Select a lock box with suitable durability, corrosion resistance, deadbolt function, and tested performance for the application. | Exterior casement doors generally benefit from a deadbolt or multipoint locking arrangement, subject to local requirements. | A lock may be mechanically compatible but insufficient for the door’s security or safety purpose. |
| Exposure to Weather | Check whether the door is exposed to rain, humidity, salt air, temperature changes, or condensation. | Choose corrosion-resistant materials and protective finishes appropriate for the installation environment. | Stainless or suitably coated components are preferable for exterior and coastal applications. | Corrosion can increase friction, weaken springs, and shorten the service life of the lock box. |
| Installation and Maintenance | Confirm available tools, fixing access, replacement space, and whether the door can be removed safely. | Prefer a dimensionally compatible box that can be installed without unnecessary alteration to the door or frame. | A direct replacement is usually easier to fit than a substantially different case design. | Excessive routing or incorrect lubrication may damage the door, finish, or internal mechanism. |
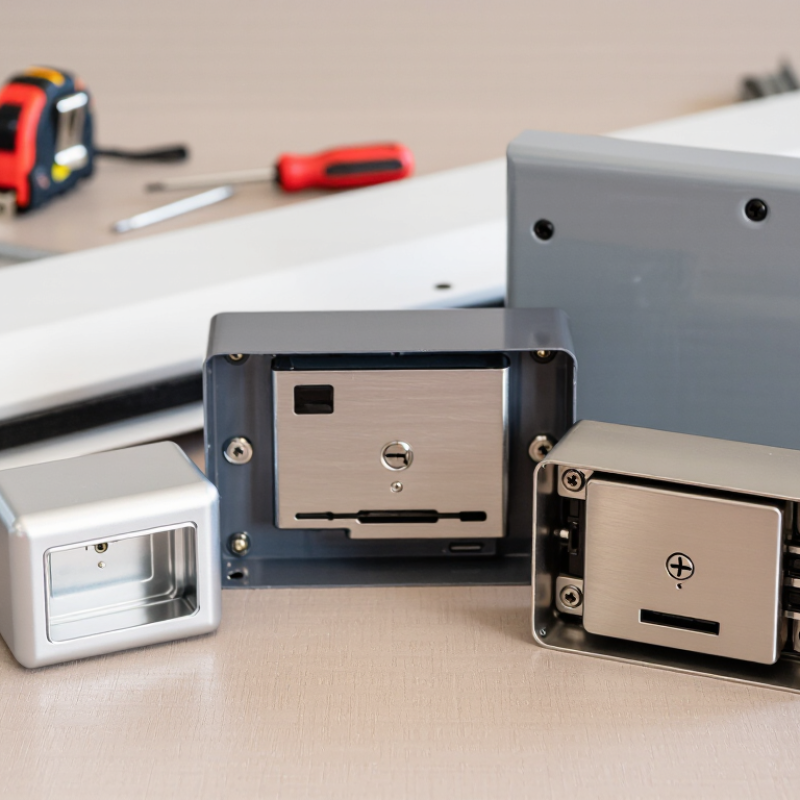
Measurement note: Before ordering, record the backset, case depth, faceplate dimensions, spindle position, cylinder position, handing, and strike alignment. Always verify local building, fire, accessibility, and emergency-exit requirements where applicable.
Choosing a casement door lock box starts with accurate measurements. Check the door thickness, backset, case depth, and spindle position. A lock box should sit firmly without forcing the door or handle. Select corrosion-resistant materials for damp entrances and exposed frames. Before installation, compare the box with the existing cutout. Small differences can create loose operation.
Mark the fixing points with the door open. Keep the lock box level, then secure it with suitable screws. Avoid overtightening, which may distort the case.
I once tightened one too much, and the latch became stiff. That mistake showed me why gradual adjustment matters.
After installation, turn the handle several times. Check that the latch enters the strike plate smoothly. Test the door from both sides, using gentle pressure. The key should rotate without scraping or sudden resistance. If movement feels uneven, stop and realign the strike plate.
Tips: Apply a small amount of manufacturer-approved lock lubricant when needed. Do not use excessive oil, because it can attract dust. Inspect screws, springs, and the latch every few months. Wipe away moisture quickly, especially near coastal or humid areas. Test the lock after seasonal temperature changes. Wood and metal can shift slightly. Keep a simple maintenance record with dates and observed issues. A photo of the original alignment may help later. Avoid ignoring minor stiffness; it often becomes a larger repair.