What Is Window Hardware A Global Buyers Guide?
Buying window components across borders is rarely as simple as comparing prices. Window Hardware includes hinges, handles, locks, rollers, stays, restrictors, seals, and fixing accessories. Each part affects security, ventilation, energy performance, and daily comfort. A polished handle may look impressive, but its internal mechanism decides whether it survives years of use.
This global buyers guide explains how to assess Window Hardware with practical care. It considers material quality, surface treatment, load capacity, opening cycles, compatibility, and supplier documentation. Stainless steel may suit coastal buildings, while coated zinc or aluminum can work well in controlled environments. Small details matter. A loose screw can damage a frame. A weak hinge can distort a sash. Buyers should request test reports, drawings, samples, and clear installation instructions before approving large orders.
Standards vary by market. So do climate conditions, building designs, and project expectations. A product accepted in one region may need additional testing elsewhere. This guide cannot remove every uncertainty. Even experienced buyers sometimes overlook packaging strength, replacement availability, or installer training. That is worth admitting. Reliable purchasing depends on questions, not assumptions. Factory visits, sample inspections, and honest communication often reveal more than a sales brochure. The goal is not to choose the cheapest hardware. It is to select dependable components that fit the window system, meet project requirements, and continue working when weather, users, and time become demanding.
What Is Window Hardware and What Does It Include?
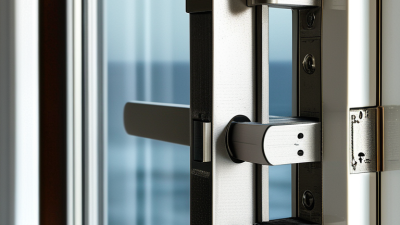
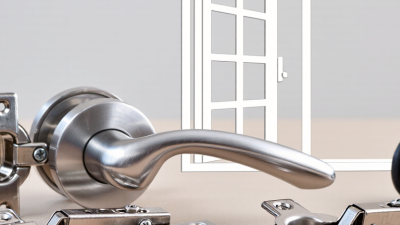
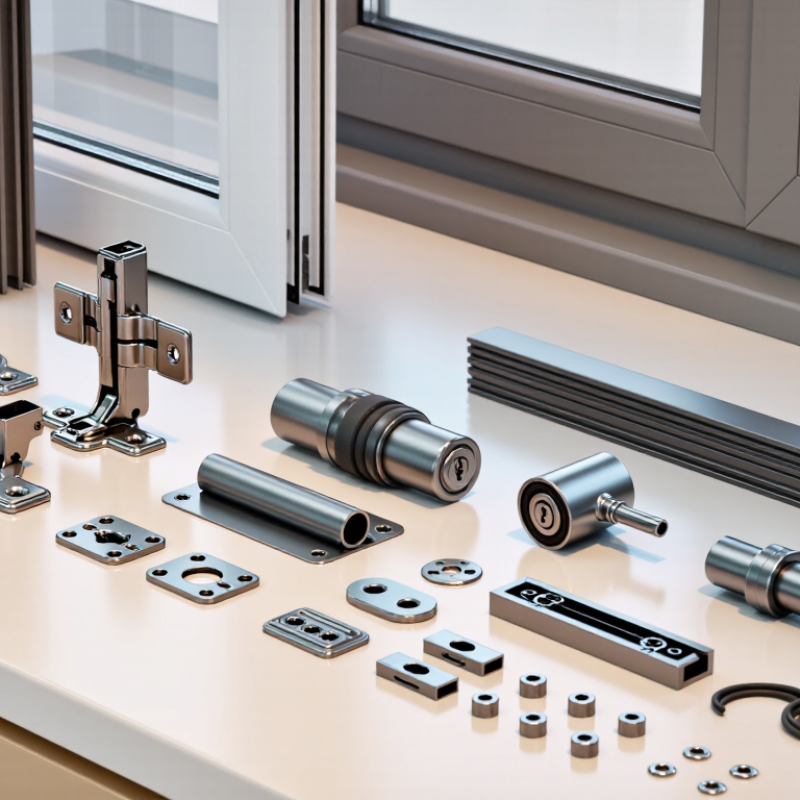
Window hardware is the working system that allows a window to open, close, lock, and stay aligned. It includes handles, hinges, locks, friction stays, rollers, restrictors, and connecting rods. Some windows also use sash lifts, fasteners, or ventilation stays. Weather seals and glazing beads are often listed beside hardware, although they serve different functions.
During site inspections, I have seen a small handle problem reveal a deeper alignment issue. A stiff hinge may signal frame movement, worn screws, or excessive sash weight. Hardware should match the window material, opening style, dimensions, and expected usage. A sliding window needs smooth rollers and secure latches. A casement window depends more on hinges, stays, and locking points. Corrosion resistance also matters in humid or coastal environments.
Tips: Check the hardware while the window is fully open and closed. Look for smooth movement, even gaps, and firm locking. Measure screw positions before replacement. Do not judge quality by appearance alone. A bright finish can hide weak internal parts. Also, installation errors are easy to underestimate. Even good hardware may fail when screws are too short, holes are misaligned, or the sash is poorly supported. Local building requirements should be reviewed before selecting restrictors or safety devices.
How Do Different Window Hardware Components Work?
Window hardware is the working system behind smooth opening, secure closing, and controlled ventilation. Handles transfer hand force to a locking mechanism. Multi-point locks pull the sash evenly against the frame. Hinges guide outward-opening windows, while rollers support sliding sashes and reduce friction. In older windows, balances counterweight the sash, preventing sudden drops. Weatherstripping fills small gaps around moving parts. It can also reduce drafts when correctly compressed.
The U.S. Department of Energy’s Energy Saver guidance reports that windows can cause 25–30% of residential heating and cooling energy use. Hardware affects this result indirectly. A loose lock may leave uneven pressure around the seal. A worn roller can tilt the sash and create an air path. NFRC evaluation procedures assess complete window units, not hardware alone, so component selection should match the tested frame, glass, and seal design. Field experience suggests that installation errors remain common. Even strong hardware performs poorly when screws miss reinforced material or hinges are misaligned. That detail is easy to underestimate.
Tips:
Check the sash movement before choosing replacement parts. Measure hinge spacing, roller height, handle position, and screw length. Do not replace a lock by appearance alone. Test compression with a thin sheet of paper. If it slides out without resistance, inspect the seal, alignment, and locking points. Maintenance also matters: clean tracks, tighten accessible fasteners, and use a compatible lubricant sparingly. Over-lubrication can attract dust.
What Materials, Standards, and Features Define Quality Hardware?
Quality window hardware begins with its material, not its shine.
Stainless steel resists moisture and performs well near coastlines. Zinc alloys offer precise shapes, but poor plating can blister quickly. Aluminum is light and useful for larger systems. Brass provides strength, although it needs suitable protection against oxidation. In busy buildings, reinforced steel components often handle repeated opening better.
Standards make quality easier to verify, but they are not identical worldwide.
Buyers should request test reports for operating cycles, load capacity, air leakage, water penetration, and corrosion resistance. Check whether the report applies to the complete window assembly, not only one handle or hinge. Regional standards may also define emergency opening, child safety, fire performance, or accessibility requirements. Ask for the exact test date and laboratory details.
Small features often reveal careful engineering.
Smooth bearings reduce operating force. Adjustable rollers help correct minor installation errors. Locking points should engage evenly, without forcing the sash. A clear surface finish matters too. It protects the metal and keeps maintenance predictable.
Looks can mislead.
In field inspections, I have found attractive handles paired with weak fixings. That failure is easy to miss during a showroom visit. Hardware should also match the frame material, climate, and expected use. A coastal apartment needs different protection from a dry inland office. No single material wins everywhere. Even published specifications deserve a second look when installation quality remains uncertain.
How Should Window Hardware Be Selected, Installed, and Maintained?
Selecting window hardware begins with the window’s weight, opening style, and installation environment. Casement, sliding, and tilt-turn windows require different operating mechanisms. Measure the sash carefully before ordering. Hardware must support the load without forcing the frame. For coastal areas, choose corrosion-resistant materials and sealed fasteners. Local building requirements also matter, especially for emergency openings, ventilation, and child safety.
Installation should follow the manufacturer’s technical instructions and the window system’s tolerances. Keep hinges aligned and tighten screws gradually. Over-tightening can distort the frame and create uneven gaps. Check the handle movement before fitting covers. The sash should open smoothly, close firmly, and remain stable in several positions. Small errors become obvious during cold weather or heavy rain. A perfect checklist does not exist. Site conditions can still expose weak decisions.
Tips: Clean tracks with a soft brush before adjustment. Apply a suitable light lubricant to moving joints, but keep drainage channels clear. Inspect screws, seals, handles, and friction stays twice a year. Replace damaged parts instead of forcing them back into service. Salt, dust, and repeated impact can shorten hardware life. Maintenance records help buyers identify recurring faults and plan replacements. When a window binds repeatedly, investigate the frame, hinges, and building movement rather than adjusting one screw endlessly. Experienced installers know that quiet operation is useful evidence, but it is not proof of correct performance. Water testing and a final safety check remain worthwhile.
Window Hardware: Recommended Maintenance Intervals
Regular maintenance helps preserve operating performance, reduce friction, and identify loose fixings or seal deterioration before they affect window safety and energy performance.
The intervals shown are practical, brand-neutral planning benchmarks for commonly used residential and light-commercial window hardware. Actual schedules should be adjusted for exposure to rain, salt air, dust, usage frequency, and local building requirements.