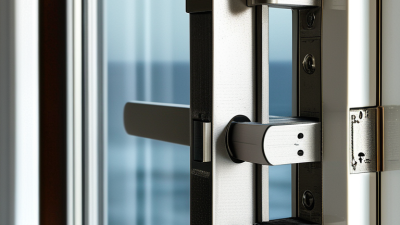
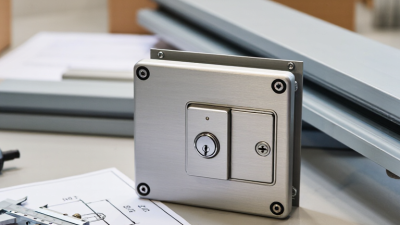
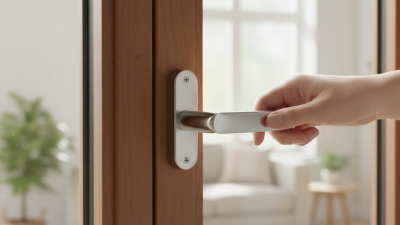
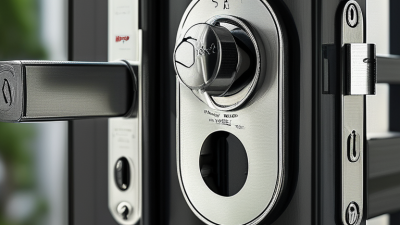
Choosing the right Window Hardware is not just a finish decision. It affects how smoothly a sash moves, how firmly it closes, and how well the window performs over time. A handle may look substantial in a showroom, yet feel loose after repeated use. A hinge must carry the sash’s weight without binding. Locks should engage cleanly, even when the frame shifts slightly with seasonal changes.
Building-science expert Dr. Joseph Lstiburek is known for emphasizing durable enclosure design and moisture control. A practical paraphrase of that broader guidance is: “Choose hardware that supports the window’s seal, movement, and water management—not appearance alone.” This is a paraphrase, not a verbatim quotation about hardware. The distinction matters; expert words should not be presented as exact quotes without a verified source. For real projects, check manufacturer specifications and confirm the hardware suits the window material, sash weight, exposure, and frequency of use.
Look closely at the details. Does the latch line up without force? Can you operate the handle with one hand? Are the hinges corrosion-resistant for a damp coastal setting? Small differences matter. Still, no checklist can predict every installation or maintenance issue. The best choice balances fit, durability, security, ease of repair, and budget. This guide will help you compare those factors and spot compromises before they become daily annoyances.
How to Choose the Best Window Hardware?
Understanding the Main Types of Window Hardware
Window hardware does more than open and close a sash. Hinges support casement windows, while operators use a crank to move them outward. Double-hung windows rely on balances to hold each sash at its chosen height. Sliding windows use rollers, and locks pull the sash snug against the frame. Small parts matter.
Choose hardware that matches the window’s design, weight, and daily use. A stiff crank may signal wear, poor alignment, or an operator that is not suited to the sash. For example, a heavy window needs sturdy hinges and a secure locking point, not just a comfortable handle. The U.S. Department of Energy’s Energy Saver guidance estimates that windows account for about 25–30% of residential heating and cooling energy use. Hardware alone cannot prevent heat loss, but properly adjusted locks and hinges help the sash close evenly and limit drafts. Check the frame material, exposure to moisture, and ease of maintenance before choosing. I used to assume a tighter lock always meant a better seal; that is not quite true. Worn weatherstripping or a warped frame can still leave gaps.
Compare common hardware types by their typical primary function. A value of 1 means the function is typically present; 0 means it is not the component’s primary role. Actual configurations vary by window design.
Choosing window hardware begins with how the sash moves. Casement windows need hinges and a crank that can support the sash without binding. Sliding windows rely on rollers that match the sash’s weight and track profile. Double-hung windows need balances sized to keep each sash steady. A mismatch may feel minor in the shop, then become a daily struggle. Small details matter.
The frame material affects the choice, too. Wood can take many fasteners, but repeated moisture may loosen them over time. Vinyl frames can flex, so use hardware designed for the frame’s construction rather than forcing oversized screws. Aluminum frames are often sturdy, though coastal air can speed corrosion on unsuitable finishes. Check the manufacturer’s specifications and the condition of the frame before buying. It is easy to overlook this.
Think about who will operate the window and how often. A high, heavy sash may need a low-effort handle or an accessible opening device. In a kitchen, a crank should clear nearby faucets and cabinets. For bedrooms, consider whether the window opens smoothly for ventilation and whether its hardware can be maintained without removing the sash. Measure twice; even then, older windows can have odd dimensions. If movement feels rough, inspect the tracks, hinges, and alignment before assuming new hardware will solve it.
Compare security, durability, and ease of use before choosing a lock or handle.
FBI 2019 Uniform Crime Reporting data placed 62.8% of reported burglaries at residential properties. That figure covers homes, not window entry alone, but it makes secure window fittings worth careful attention. Look for a lock that engages firmly with its keeper and resists movement when the sash is closed. The frame and fasteners matter, too; a strong lock attached to weak material offers limited protection.
Durability is more than a sturdy feel. Ask for documented cycle-life and corrosion-resistance test results, especially for windows exposed to rain or salt air. Check whether the complete window meets NAFS performance requirements, a North American standard for window, door, and skylight performance.
For everyday use, test the handle with the window open and closed. It should turn smoothly without pinching fingers or requiring a hard twist. A heavy handle may feel reassuring, yet it can be awkward for people with limited grip. One compromise remains: no single design suits every hand.
Tips: Test the hardware yourself. Check for smooth movement, firm locking, and accessible controls. Ask for test documentation, not just a durability claim.
How to Choose the Best Window Hardware?
Start by matching the hardware to the window’s opening style and frame material. A casement window needs different fittings from a sliding sash. Check the existing mechanism, too: note its shape, fixing points, and how the window moves. Similar-looking parts are not always interchangeable. Small details matter.
Measure the handle’s fixing-hole centers, spindle length, and the clearance around the frame. For hinges, record their length, width, and position. Measure twice, ideally with the window open and closed. It is tempting to assume the old part is the correct size, but previous repairs may have changed the setup. That assumption can be wrong.
Before buying, compare your measurements with the hardware’s stated specifications and check that the sash weight is supported. Review the installation instructions for required tools, screw sizes, and access to fixing points. Confirm that the new fitting will not obstruct blinds, screens, or nearby trim. If the frame is damaged or measurements remain uncertain, ask a qualified window professional to assess it. Forcing a mismatched part can crack a frame or leave the window difficult to secure. Go slowly. A neat fit matters more than a quick replacement.
| Hardware Type | Typical Window and Compatibility Checks | Measurements to Take | Installation Requirements | Practical Selection Guidance |
|---|---|---|---|---|
| Casement hinges or friction stays | Used on casement windows. Confirm whether the sash opens outward or inward, the frame material, opening direction, and whether the existing hardware is side-hung or top-hung. | Measure the stay length, track width, stack height, fixing-hole positions, and sash dimensions. Check the required opening angle and available clearance. | Fixings must suit the frame material and reach solid material. The sash should be supported during installation and checked for smooth movement and secure closure. | Match the existing stay type and dimensions where possible. Choose a load rating appropriate to the sash size and weight; do not assume that similar-looking stays are interchangeable. |
| Espagnolette handle | Commonly used with multipoint espagnolette locks on casement windows. Check that the handle spindle engages correctly with the gearbox and that the handle’s fixing pattern matches the sash. | Record the spindle length and cross-section, distance between fixing-hole centres, screw size, and the clearance behind the handle. Measure the existing handle before ordering a replacement. | Fit the spindle without forcing it into the gearbox. The handle should turn the locking points smoothly, and the screws should be appropriate for the window material and existing holes. | Spindle length and fixing centres vary between systems. Confirm both against the existing hardware or the lock manufacturer’s technical information. |
| Multipoint lock or gearbox | Used where a handle operates several locking points along the sash. Check the lock type, direction of operation, locking-point positions, and compatibility with the existing handle and keeps. | Measure the backset, faceplate width and length, fixing positions, gearbox dimensions, and distances to locking points. For replacement, compare the full strip layout with the original. | The lock must sit straight in the sash profile. Keeps need to align with the locking points; adjust alignment carefully and verify that the sash closes without excessive force. | Measurements such as backset and faceplate dimensions are system-specific. A similar overall length alone does not establish compatibility. |
| Sash fastener or sash lock | Typically fitted to sliding sash windows to secure the meeting rails. Check the sash material, meeting-rail profile, available fixing area, and whether the lock is intended for the existing sash arrangement. | Measure the meeting-rail thickness and width, fixing-hole centres, and the space available for the fastener and keep when the sashes are closed. | Position the fastener so it engages the keep fully without obstructing sash travel. Use fixings that suit the sash material and avoid damaging concealed balances or other components. | Confirm that the lock does not prevent normal sash movement and that the meeting rails align before choosing a replacement. |
| Window restrictor | Can be fitted to suitable casement or other window designs to limit opening. Check the window material, opening direction, fixing surface, and whether the restrictor is compatible with the sash geometry. | Measure the available fixing area, sash-to-frame distance, and intended maximum opening. Check the restrictor’s specified reach and fixing-hole positions. | Install according to the product instructions, using suitable fixings and a secure structural fixing point. Test the restriction and any release mechanism after fitting. | Where a window forms part of an escape route or has a safety function, confirm applicable local building and fire-safety requirements before adding a restrictor. |
| Sliding-window rollers | Used on some horizontal sliding windows. Confirm the roller housing and wheel arrangement match the sash and track profile; different systems may look similar but have different dimensions. | Measure the roller housing length, width and height, wheel diameter and width, axle position, and adjustment range. Also inspect the track profile and condition. | Support the sash during removal and refitting. Adjust the rollers so the sash runs level and moves smoothly without lifting out of the track or rubbing the frame. | Check the track for damage or debris before replacing rollers. A worn or incompatible track can prevent a new roller from operating properly. |
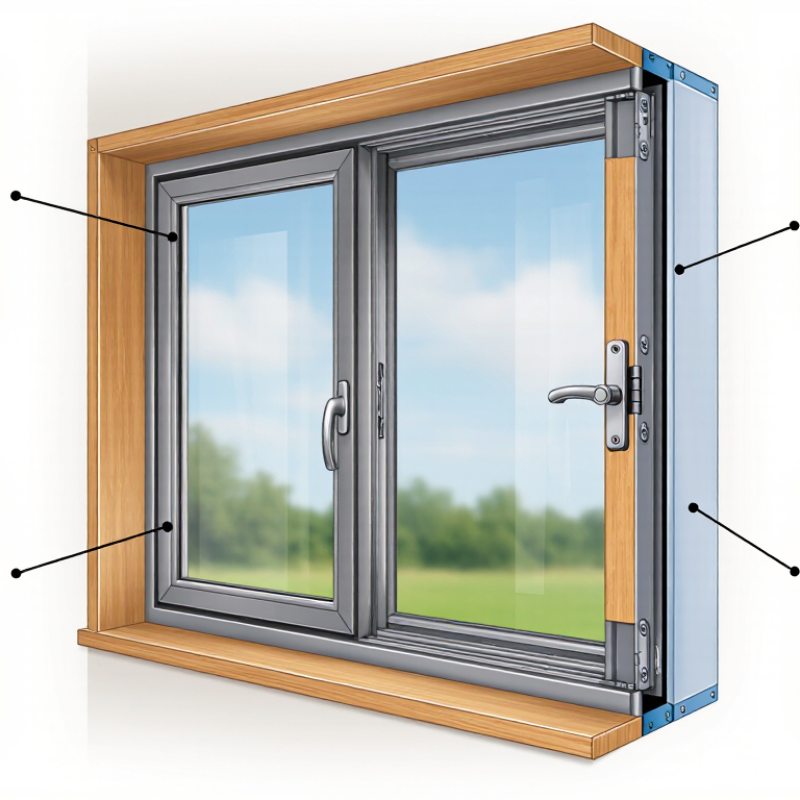
Before ordering: Identify the window opening style and material, photograph the existing hardware, and record measurements in millimetres. Dimensions and fixing patterns vary by system, so verify them against the product’s installation instructions. If the window is damaged, difficult to operate, or part of a required escape route, consult a qualified window professional.
Choosing window hardware on price alone can create a false saving. The U.S. Department of Energy estimates that heat gain and loss through windows account for 25–30% of residential heating and cooling energy use. That figure covers the whole window, not hardware alone, but reliable locks and hinges help the sash close snugly against its seals. Ask for hardware suited to the window’s weight, opening style, and local exposure. A low-cost latch that bends or fails to pull the sash tight may cost more in repairs later.
Match the material to your maintenance routine. Stainless steel or corrosion-resistant finishes suit damp rooms and coastal air; basic plated parts may need more frequent checks. Look for replaceable components, clear care instructions, and readily available repair parts.
ENERGY STAR’s window guidance emphasizes choosing performance ratings for the local climate, a useful reminder that hardware is only one part of the assembly. Keep the frame clean, check screws and hinges yearly, and lubricate moving parts as the manufacturer directs. Small details matter. A slightly higher upfront price can be sensible when it buys durable parts and easier servicing, though the most expensive option is not automatically the best. I would compare the warranty and replacement-part cost before deciding.